I have
I hope my instructions aren't to confusing!

picture frame
paint- colors of your choosing
scrapbook paper, paper
mod podge
buttons, flowers, ribbon etc.
E-9000
distresser inkpad
old newspaper
Step 1:
Paint frame, I used Folk Art in Antique White & Coffee Bean
Step 2:
Cut your paper to fit your cardboard that came with your frame.
Step 3:
Mod Podge your paper to your cardboard *make sure you smooth your bubbles out before it dries*
Step 4:
Dry brush your accent color onto your frame
Step 5:
Cut out the initial or name- just make sure it fits in your frame!
Step 6:
Put your ribbon right in the center of the two pieces of paper that don't line up. You could also make one more prominent then the other one if you would like.
Step 7:
Add your flower or other accent. I took the stem off, but left the plastic piece on the bottom of the flower on, I just flipped it upside down, I also removed the other parts of the flower, applied E-9000 to the bottom plastic piece and then the other flowers.{a little goes a loooong way} I then added my button and placed a couple of heavy books ontop to weigh it down.
Step 8: Optional
Distress your paper.
Step 9:
Place it back into your frame.
Step 10:
Enjoy your work!
I didn't stop there- I made some Mod Podged clothes pins!

clothes pins
scrapbook paper, old newspaper, etc.
mod podge
exacto knife
distressed inkpad
sand paper
sponge brush
E-9000-to apply magnets
magnets{optional}
old news paper-to work on.
Step 1:
I traced the outline of the clothes pin onto the scrap paper.{this is helpful when you have a pattern.}
Step 2:
Cut out the pattern of the clothes line with your exacto knife.
Step 3:
Put a little mod podge onto your clothes pin{a little goes a long way & you want them to dry sometime today!}
Step 4:
Add your paper to the clothes pin right on top of the mod podge and make sure you smooth it out and align it.{make it straight}
Step 5:
When they are dry- use your nail file or sand paper to make the edges so they aren't so "thick" when you look at them from the side.
Step 6:
Distress them with your ink pad
Step 7:
Add another layer of Mod Podge
Step 8:
Allow to dry & if you would like now is the time to add your magnets.
Step 9:
Admire your work!

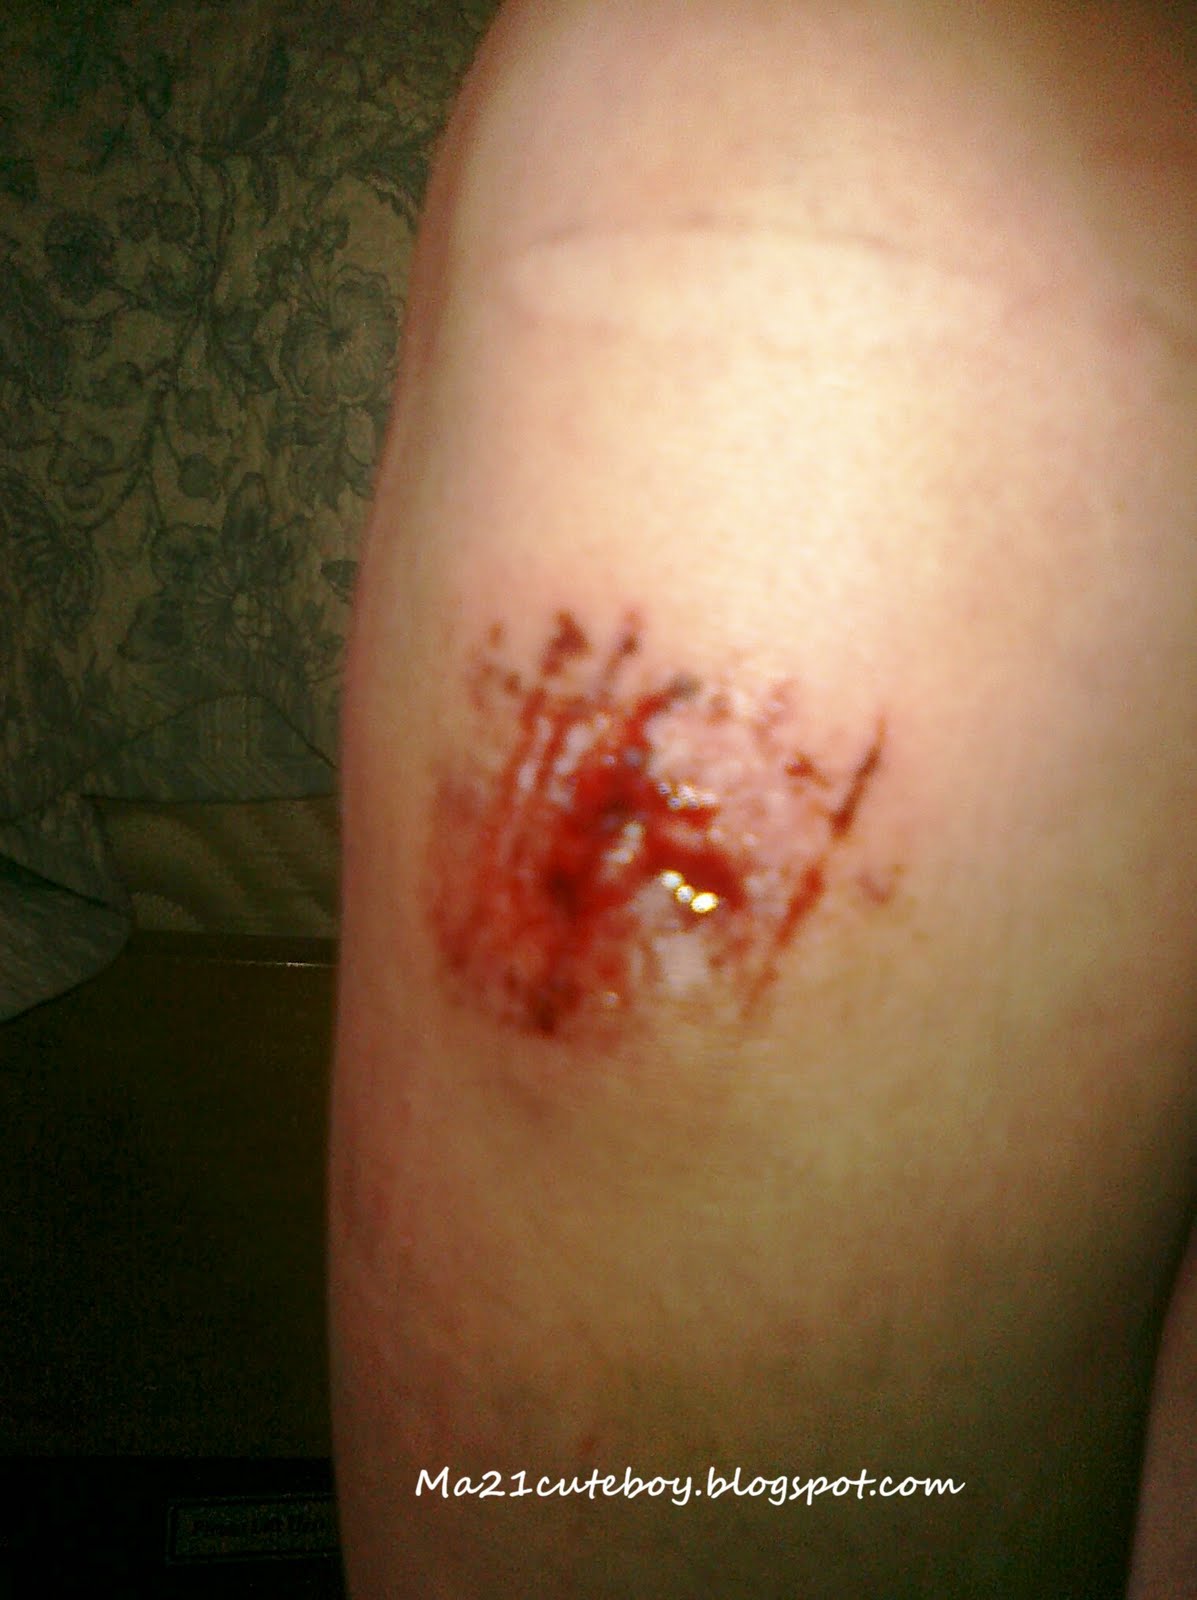
Now onto what Chucky has been up to this weekend:

The first day he got it, he rode into a garbage can and was freaking out that he wrecked his bike!
Well needless to say, that was not the wreck he should have been worried about. He had an awful wreck when the friend he was riding with suddenly stopped. Chucky had no time to stop and hit right into the back of him and flew off of his bike skidding accross the black top! The whole right side of his body has road-rash!